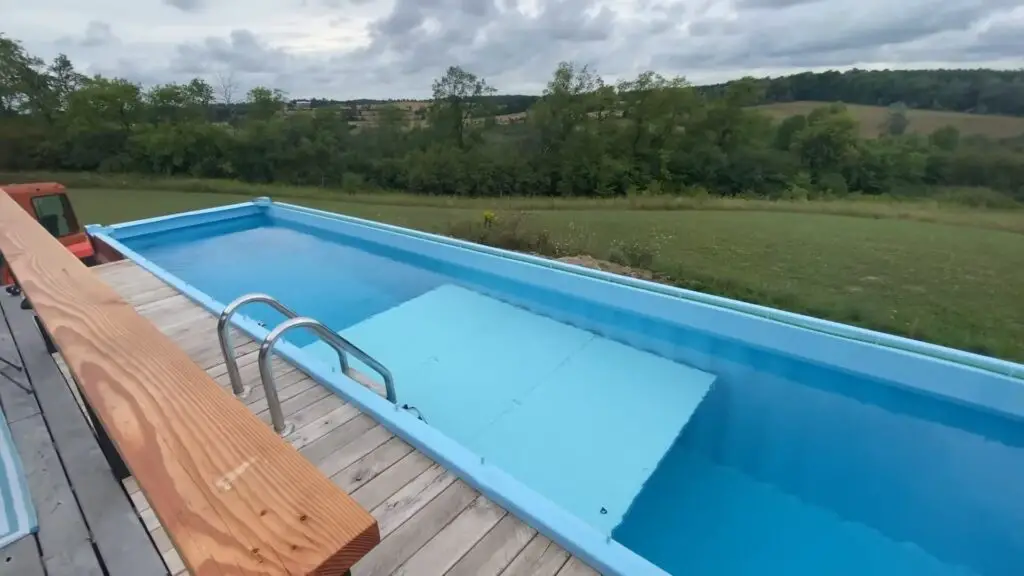
This comprehensive guide illustrates the transformation of a 40-foot open-top shipping container into a functional swimming pool.
The project involves meticulous planning and execution, focusing on structural modifications, strategic material selection, welding techniques, and installation of essential pool features.
Notable challenges such as managing water pressure and sealing leaks are addressed through innovative engineering and practical adaptations to ensure structural integrity and water resistance.
Chapters
- Excavation and Site Preparation
- Container Modification and Reinforcement
- Structural Reinforcement and Water Resistance
- Surface Treatment and Final Construction Stages
- Converting a Shipping Container into a Pool
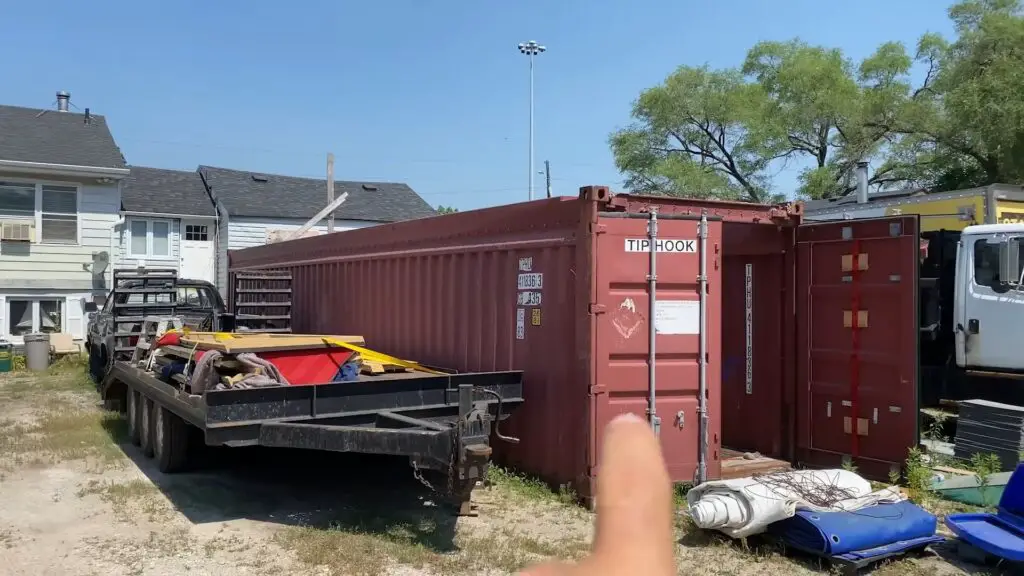
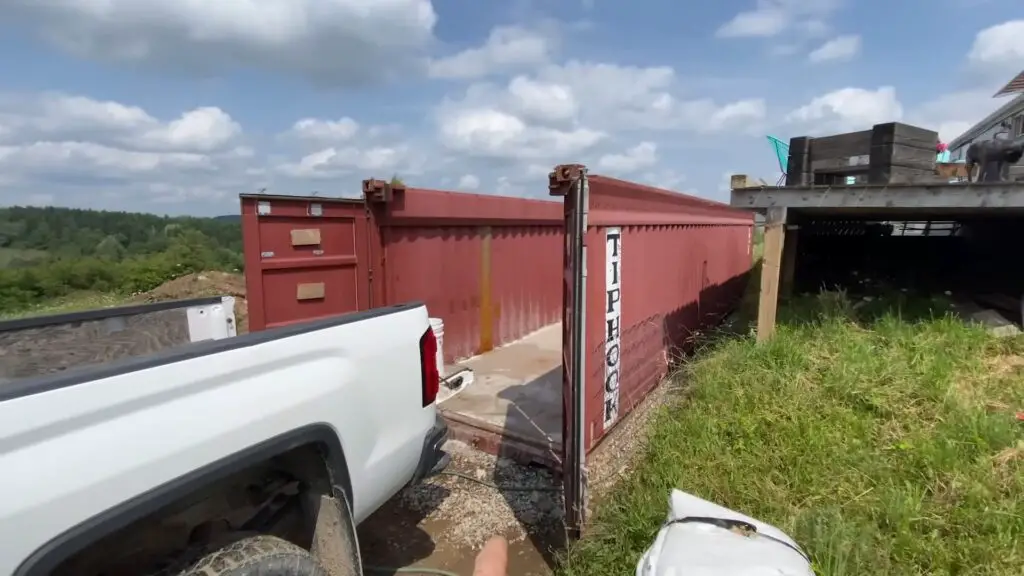
Excavation and Site Preparation
The project begins with preparing the site for installing the shipping container pool. This involves excavating a hole and implementing a drainage system using various aggregates to prevent water accumulation.
The container is placed into the prepared site, with a three-inch layer of concrete reinforced with steel mesh surrounding its perimeter to stabilize and secure it.
Container Modification and Reinforcement
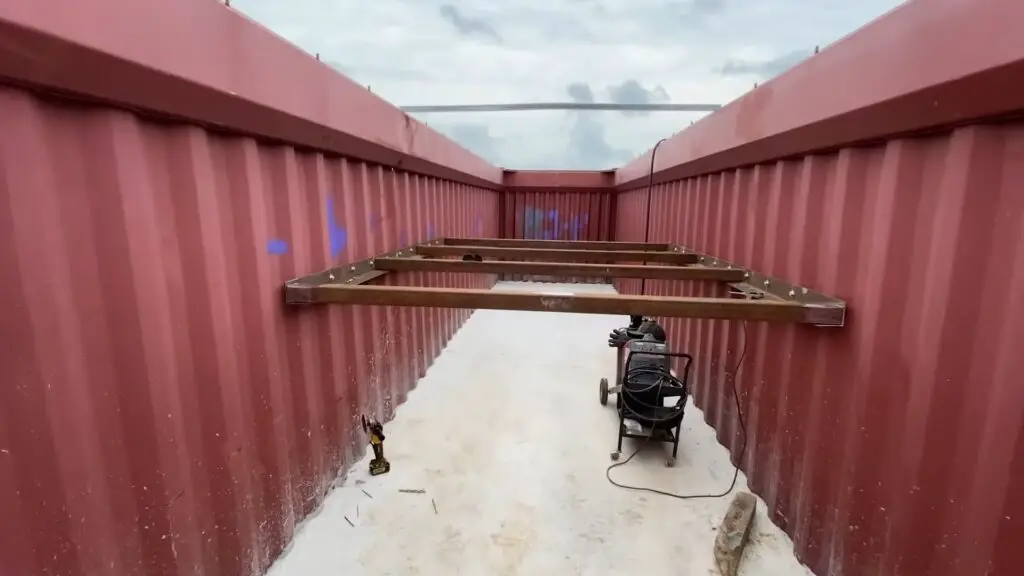
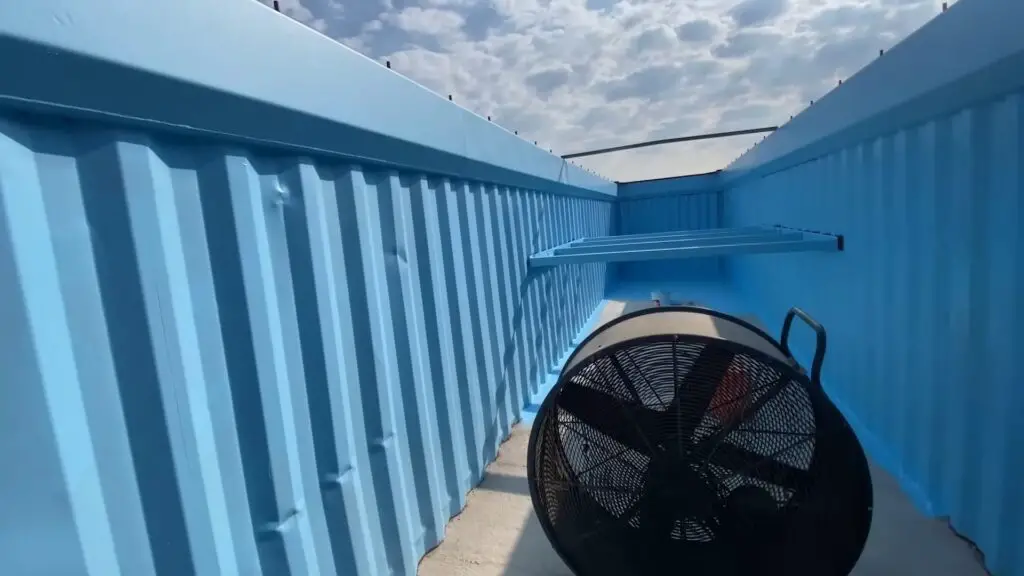
Modifying the container is crucial to its conversion into a pool. Given its open-top design, structural modifications are necessary to prevent the walls from bowing.
Reinforcements using 3-inch by 3-inch angle irons are installed for support. A unique feature within the pool includes a shallow section measuring 10 feet long and 3 feet deep, enhancing usability.
Structural Reinforcement and Water Resistance
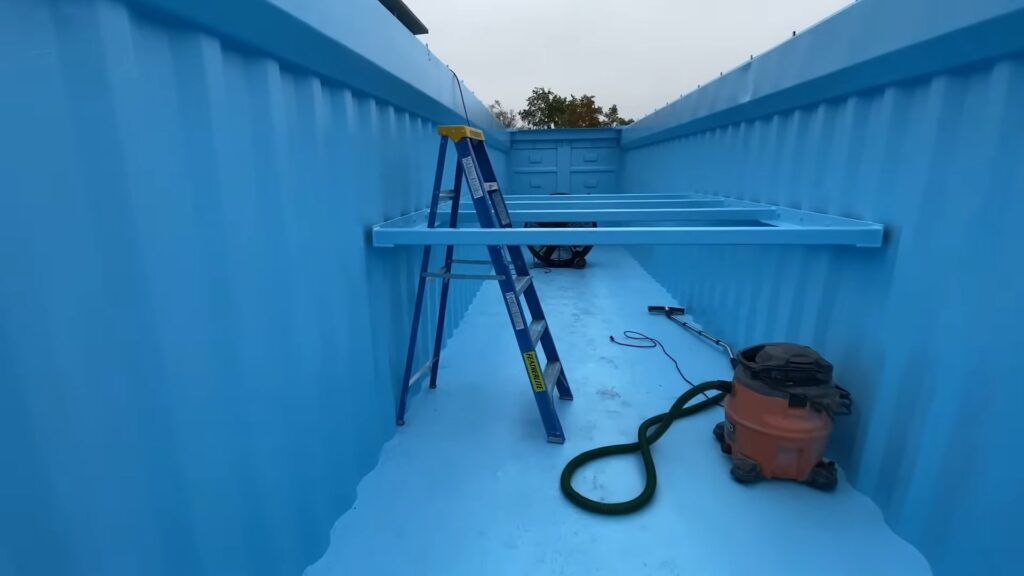
Addressing pressure loads is vital, employing a bolted and welded assembly for enhanced durability. A quarter-inch thick flat plate, eight inches wide, bridges gaps between the container’s ribs, supporting the walls against water pressure and preventing buckling.
Reinforcement is supplemented by substantial square tubing, and a pressure test verifies the system’s robustness. Additionally, angle iron is used for maximizing welding surfaces, originally planned for welding directly but ultimately bolted for a stronger connection.
Surface Treatment and Final Construction Stages
Surface preparation is conducted via a high-pressure washer with a sandblaster attachment, removing rust and preparing for further treatments.
Epoxy pool paint ensures rust prevention and durability, while fiberglass matting is applied to the container’s bottom for additional sealing. The interior is painted blue for aesthetic appeal.
Essential components, including fiberglass matting at tricky areas, a filter pump, and a UV light, are installed to maintain water quality, successfully concluding the project.
Converting a Shipping Container into a Pool
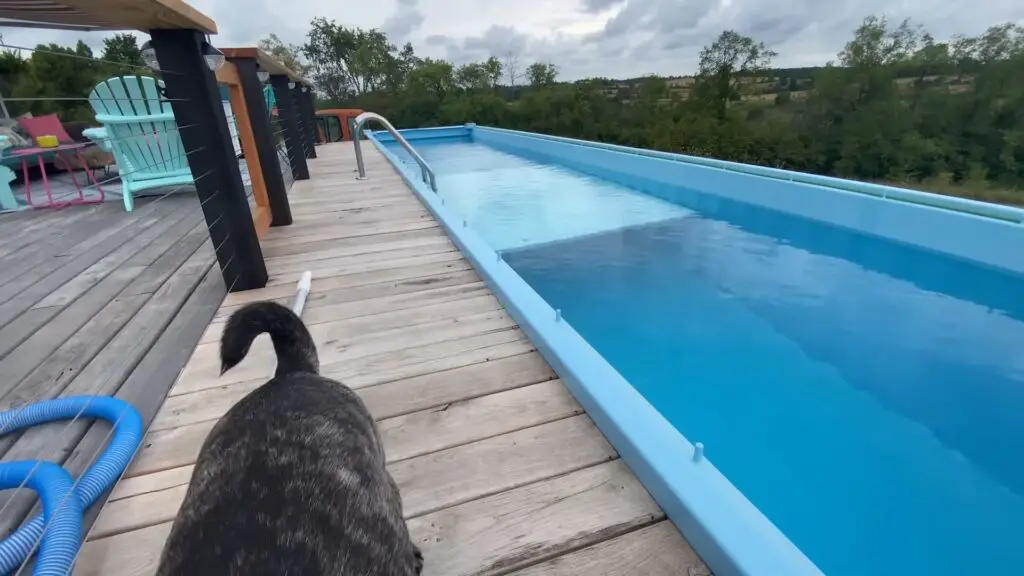
The container’s transformation into a swimming pool involves filling it with water and setting up installations such as a filtration system, deck, railing, ladder, and solar blanket. Despite minor leaks, these challenges are anticipated to be addressed in subsequent modifications.
The project demonstrates the effort and dedication required to repurpose an industrial structure into a recreational facility, hinting at further solutions and enhancements to be explored in future project phases.
